Vehicles
Table of contents
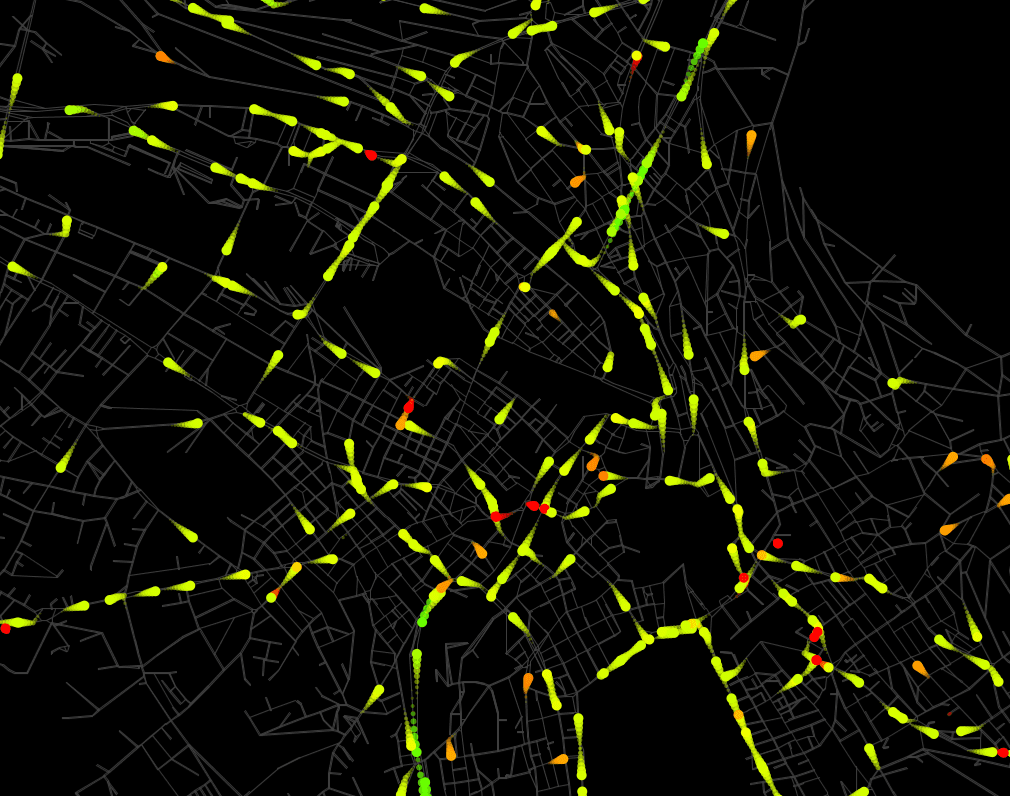
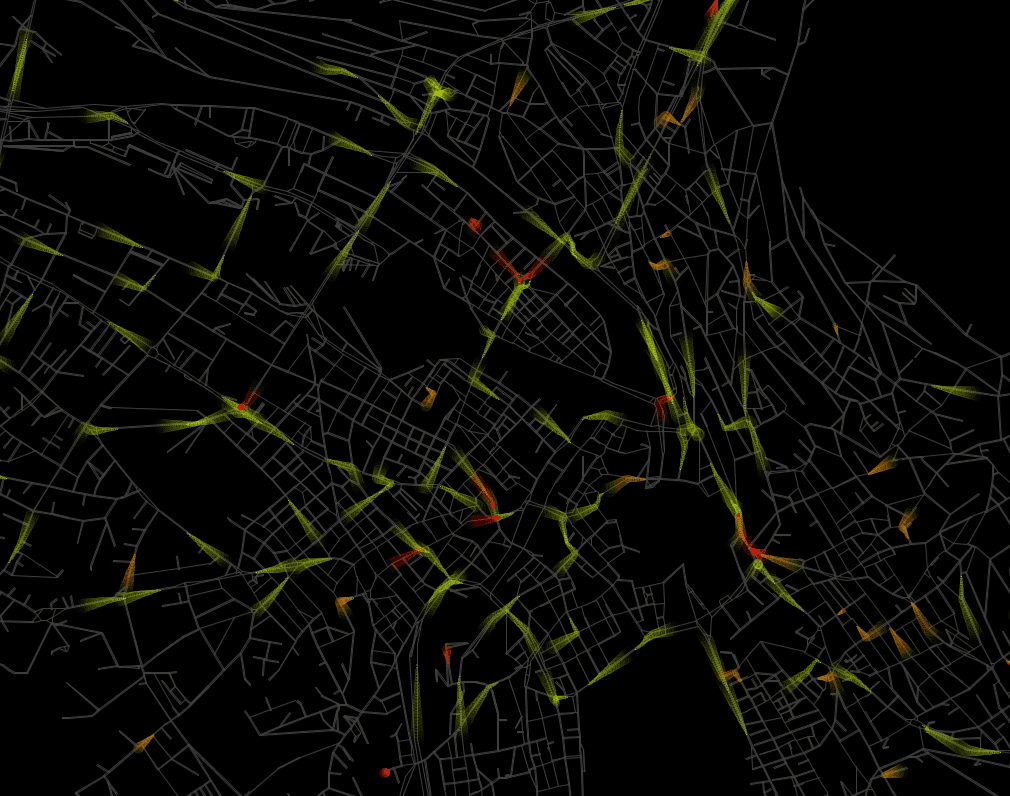
Displays vehicles at their current position in the network.
Requires a loaded network file and an events or population file.
Vehicles
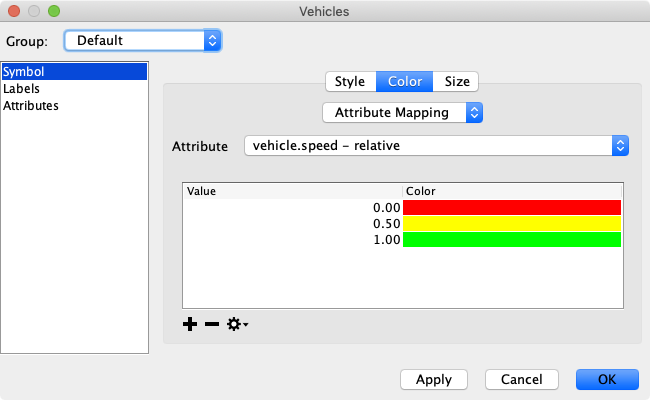
The vehicles layer displays the position of vehicles in the network. The vehicles can be colored based on a number of attributes, including absolute or relative speed (relative to the links’ free speed). To change the display style of vehicles, click on the gearwheel icon. A dialog will show where the color and the style of the vehicles can be set.
Different Styles for Different Vehicles
It is possible to have different styles for different groups of vehicles, e.g. to color private cars based on their speed, and public transport vehicles based on their number of passengers. It is even be possible to show a few hand-picked vehicles larger in order to highlight them in a visualization.
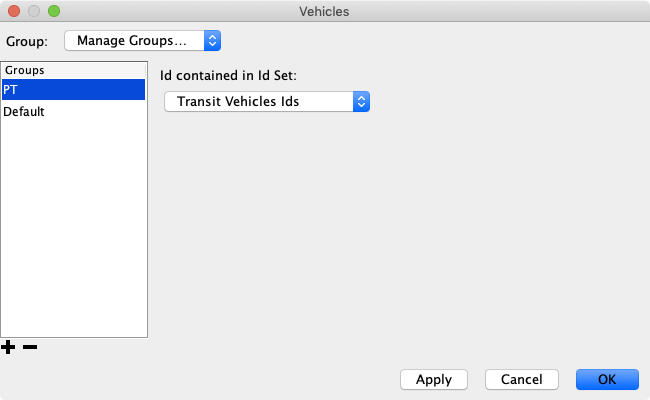
In order to set up different styling for different groups of vehicles, the groups must first be defined. This can be done by selecting Manage Groups… from the Group-Selector in the vehicles settings dialog.

A vehicle group is defined by a list of vehicle IDs that must be available as ID Set. When using the public transport plugin and loading a transit schedule, two ID Sets are automatically created that contain all transit vehicle ids and transit driver ids, respectively.
Add a new group by clicking on the plus icon below the list, name the new group, and select the ID Set that should contain the vehicle id. All vehicles whose vehicle id is contained in the specified set are then part of that group. If a vehicle id is contained in multiple sets, the first set that contains the id defined the group for that vehicle.
To change the settings for each defined group, select the group from the Group-Selector again.
Custom Vehicle Styles
There are two ways to define custom symbols to be used for Vehicles. The first is by defining custom “fancy” vehicle styles, the second is by using custom images as vehicle symbols.
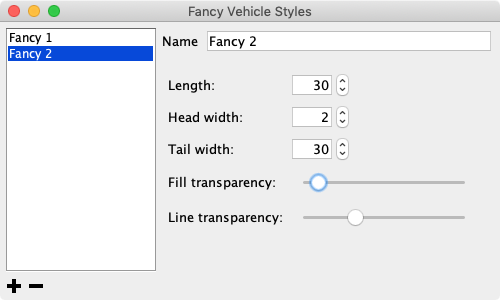
The fancy vehicle style consists of circles that show a trailing tail when moving through the network. To define a custom fancy vehicle style, select Fancy Vehicle Styles… from the Tools menu. In the shown dialog, you can then define your own fancy style by customizing the head and tail width, the length of the tail, and the transparency applied to the painted circles. Best is to play around with a style during the visualization to immediately see the effects.
To use arbitrary images as vehicle icons, select Custom Symbols from the Tools menu. Add a new symbol by clicking on the plus icon, give it a name and load a custom image file which will be used as vehicle symbol.
After defining custom vehicle styles, they can be selected in the vehicles settings dialog.